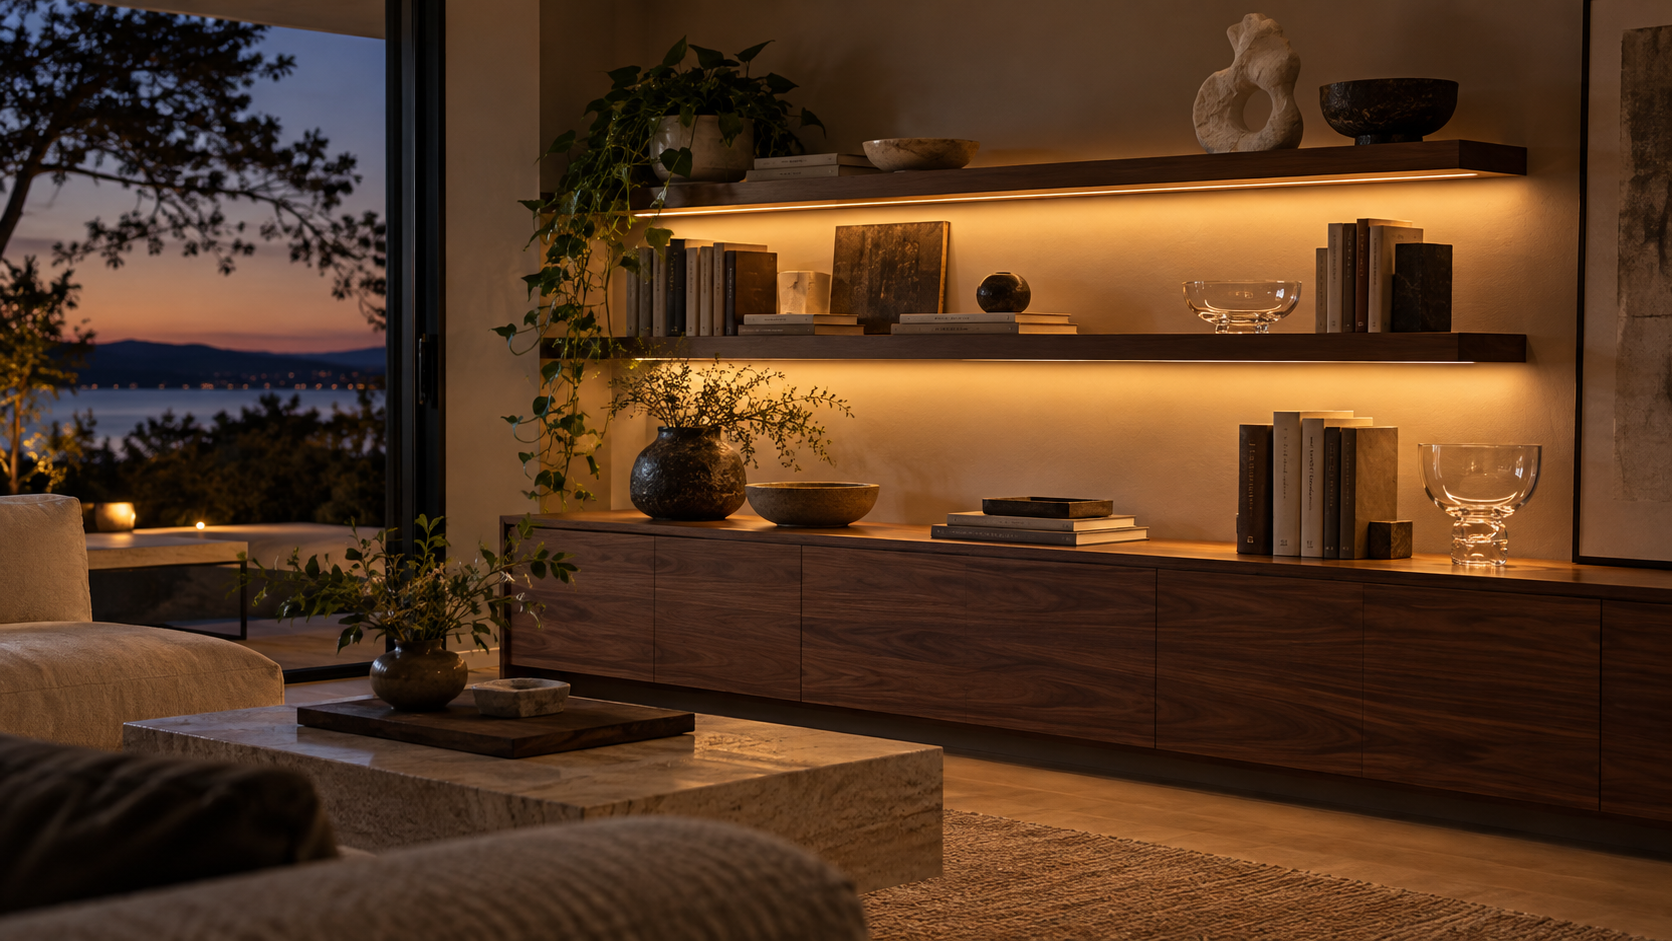
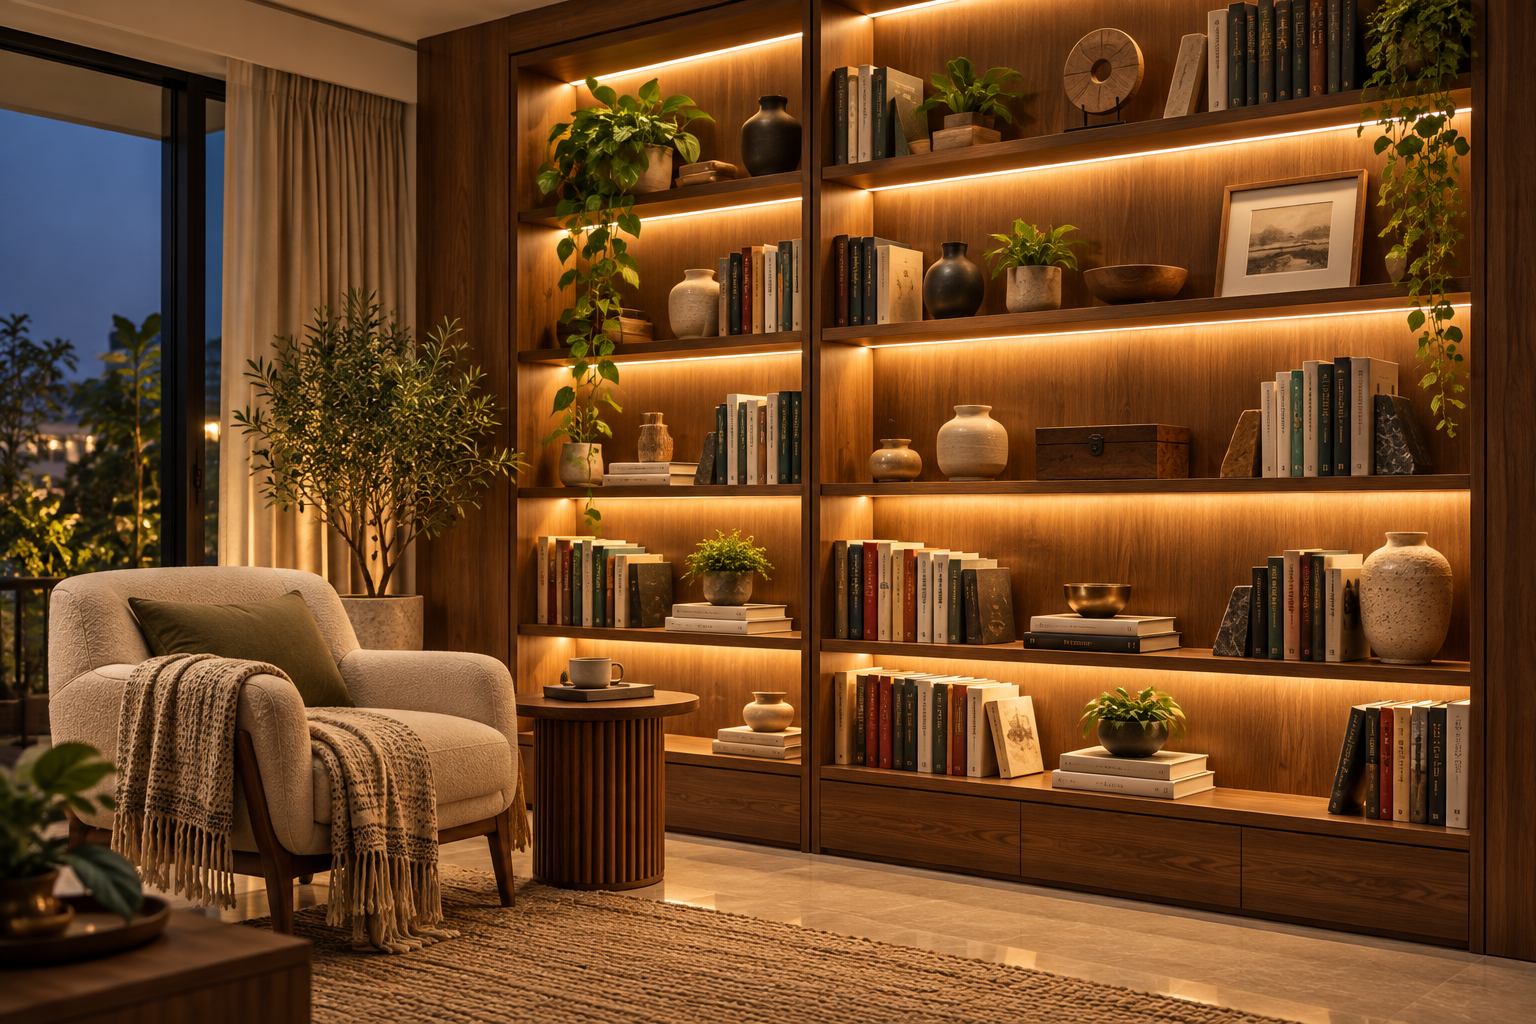
The placement of a light matters just as much as the light you choose. On a shelf, shifting the source from front to back can turn a practical bookcase into a dramatic display. Decide what you want to see first; then choose the fitting and build the cabinet around it.
1. Decide what each shelf is for
Walk through the cabinet shelf by shelf. Do you need to read book spines, see stored items, show off glassware or pick out a single object? The answer determines the position of the light. Different sections of one cabinet can use different approaches, with separate switches or dimming groups if you want to control them independently.
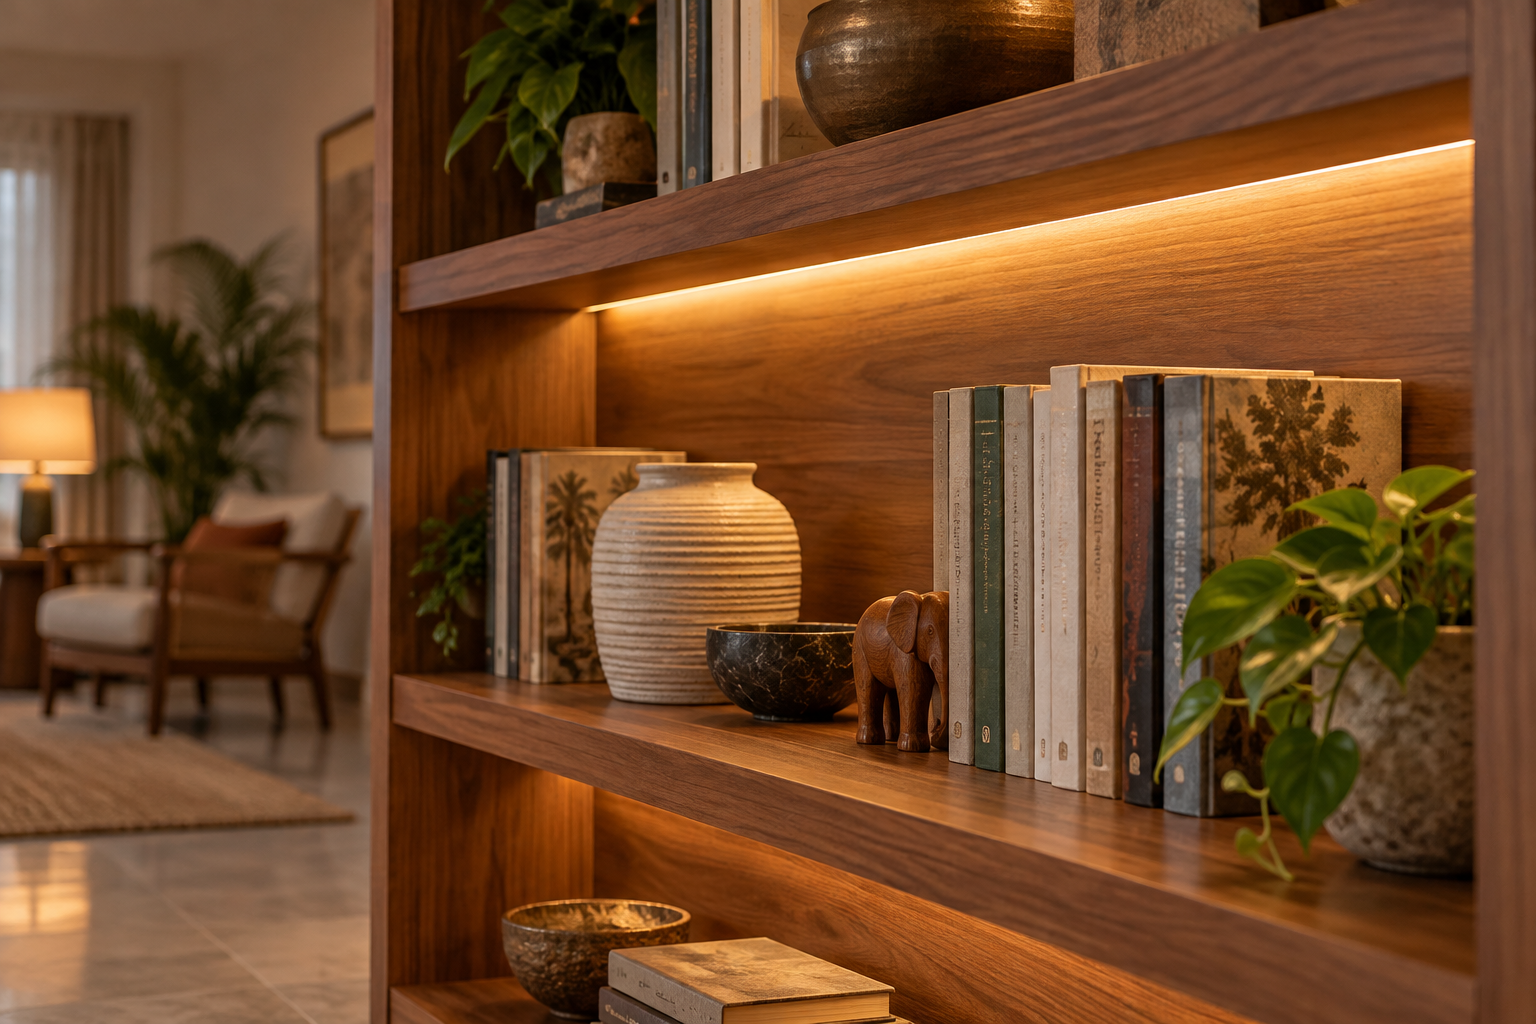
| Effect | Position | What you see | Best fit |
|---|---|---|---|
| Clear display | LED at the front underside, directed down and slightly inward | The faces of books and objects are easier to see | Bookcases, everyday storage, collections |
| Atmospheric display | LED concealed towards the rear, aimed at the back panel or upward as the design allows | Glow, depth, silhouettes; translucent glass can catch light | Home bars, lounge displays, decorative niches |
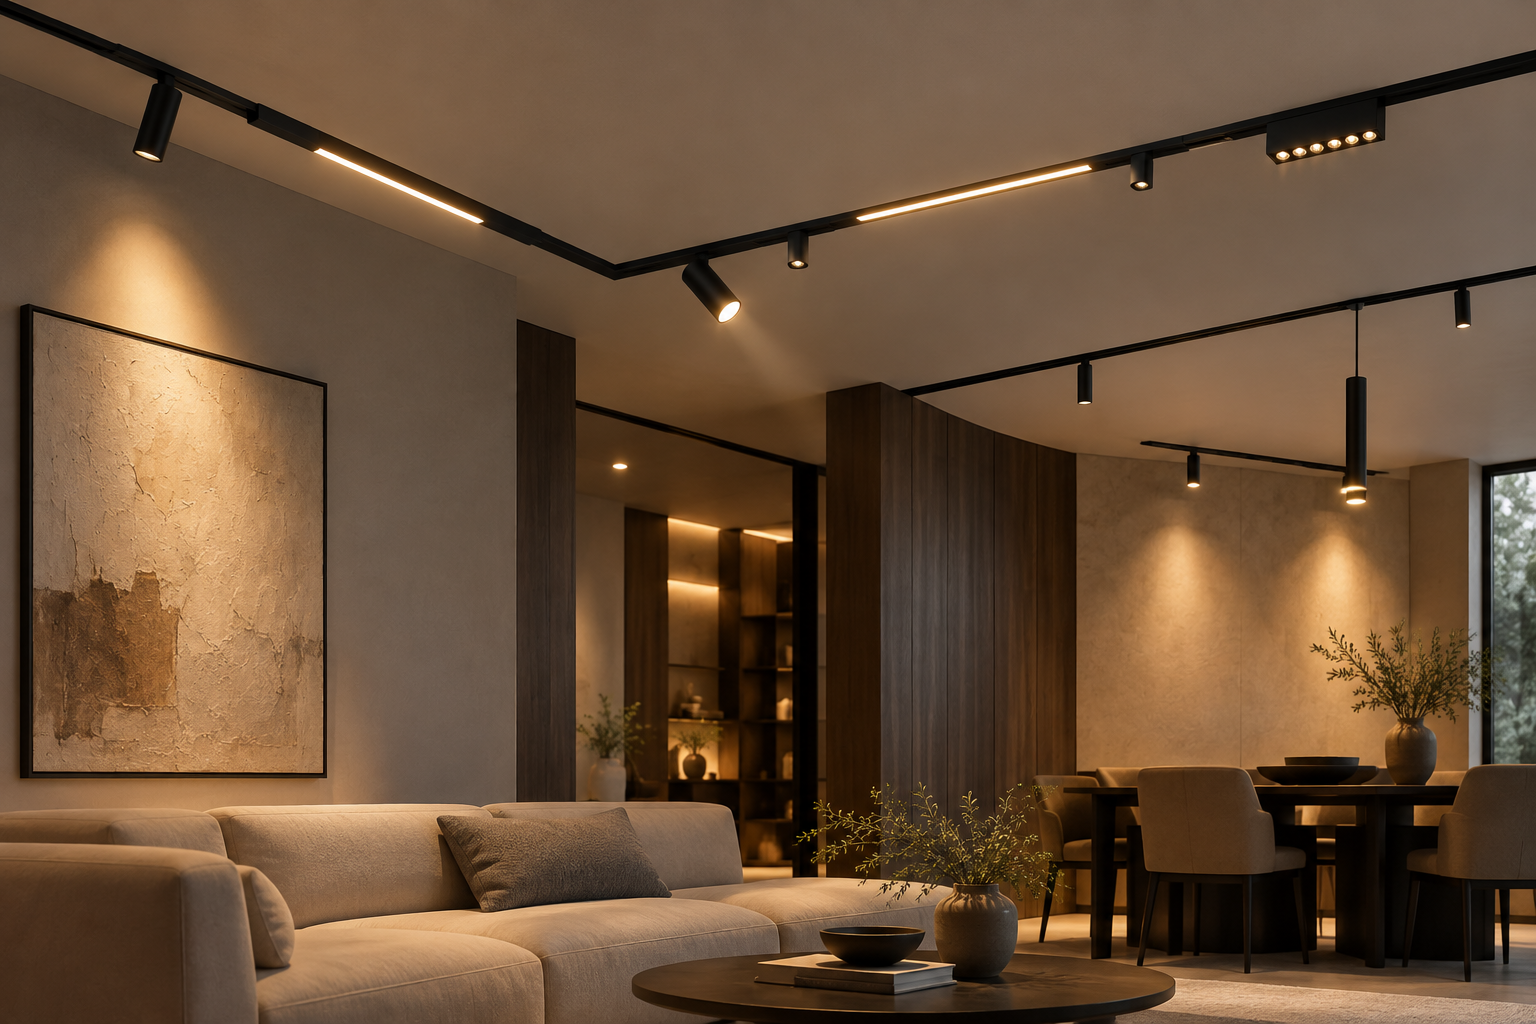
| One focal piece | Small recessed or adjustable accent light above the object | A concentrated pool of light on one item | Art object, sculpture, a single prized piece |
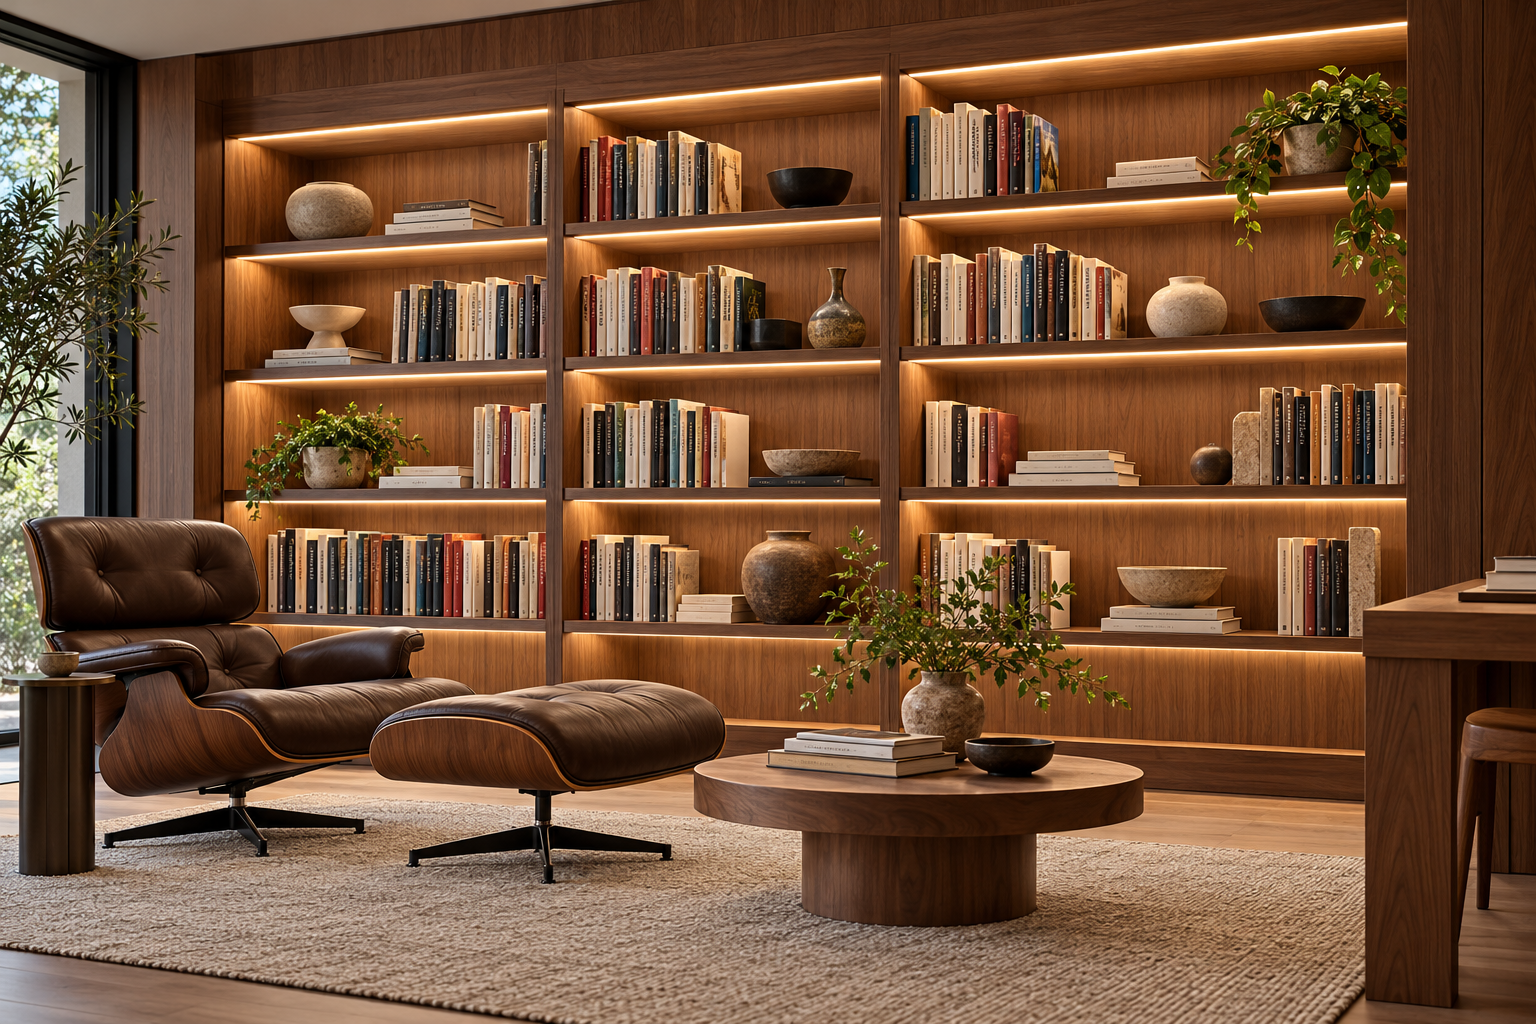
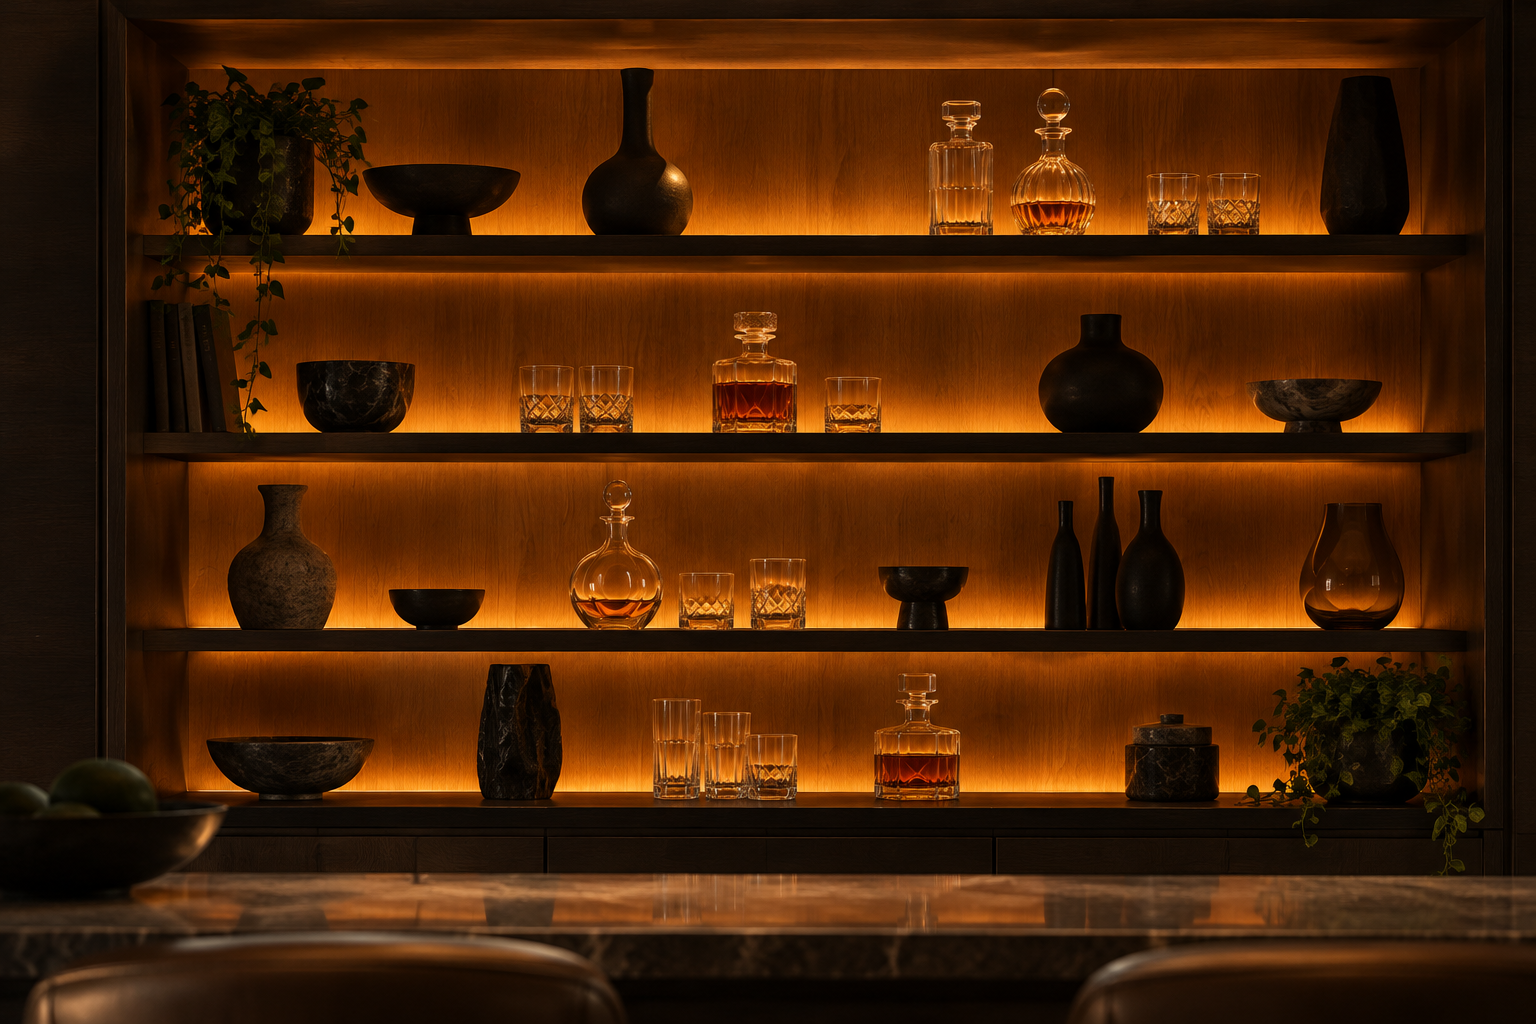
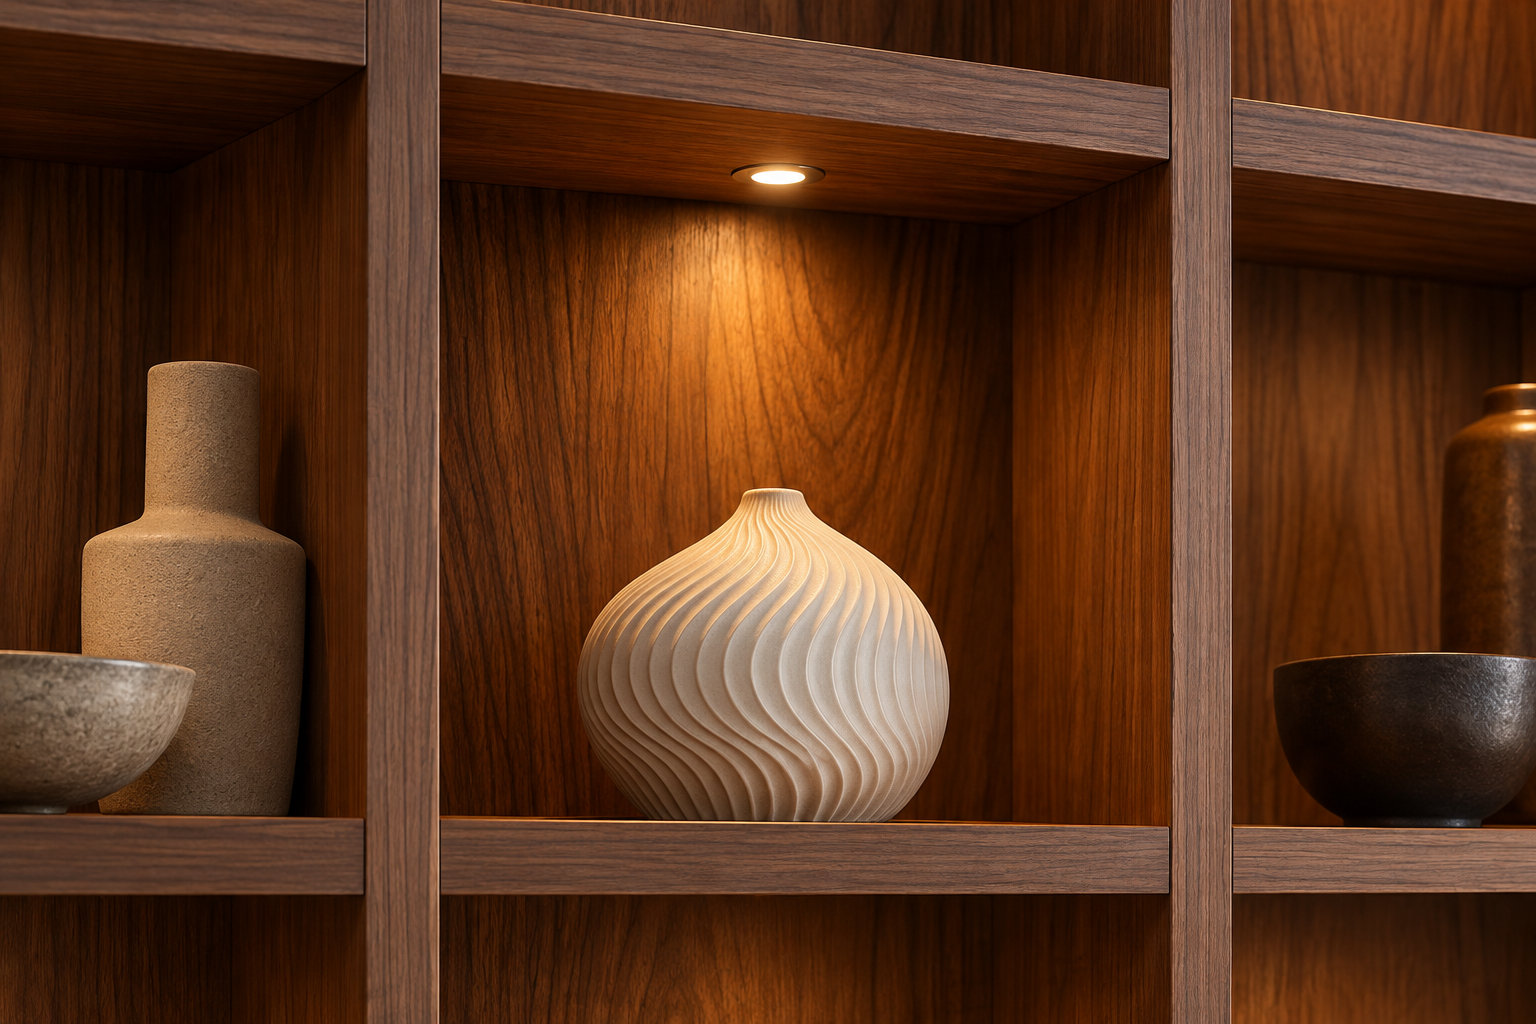
The rear position is an effect, not a guarantee: opaque objects can go dark if the light is only behind them. Test the actual objects and shelf finish before committing.
2. Check the view before fixing the channel
- Stand and sit where the cabinet will normally be seen. You should see the lit objects, not a row of bare LED points or a glaring strip.
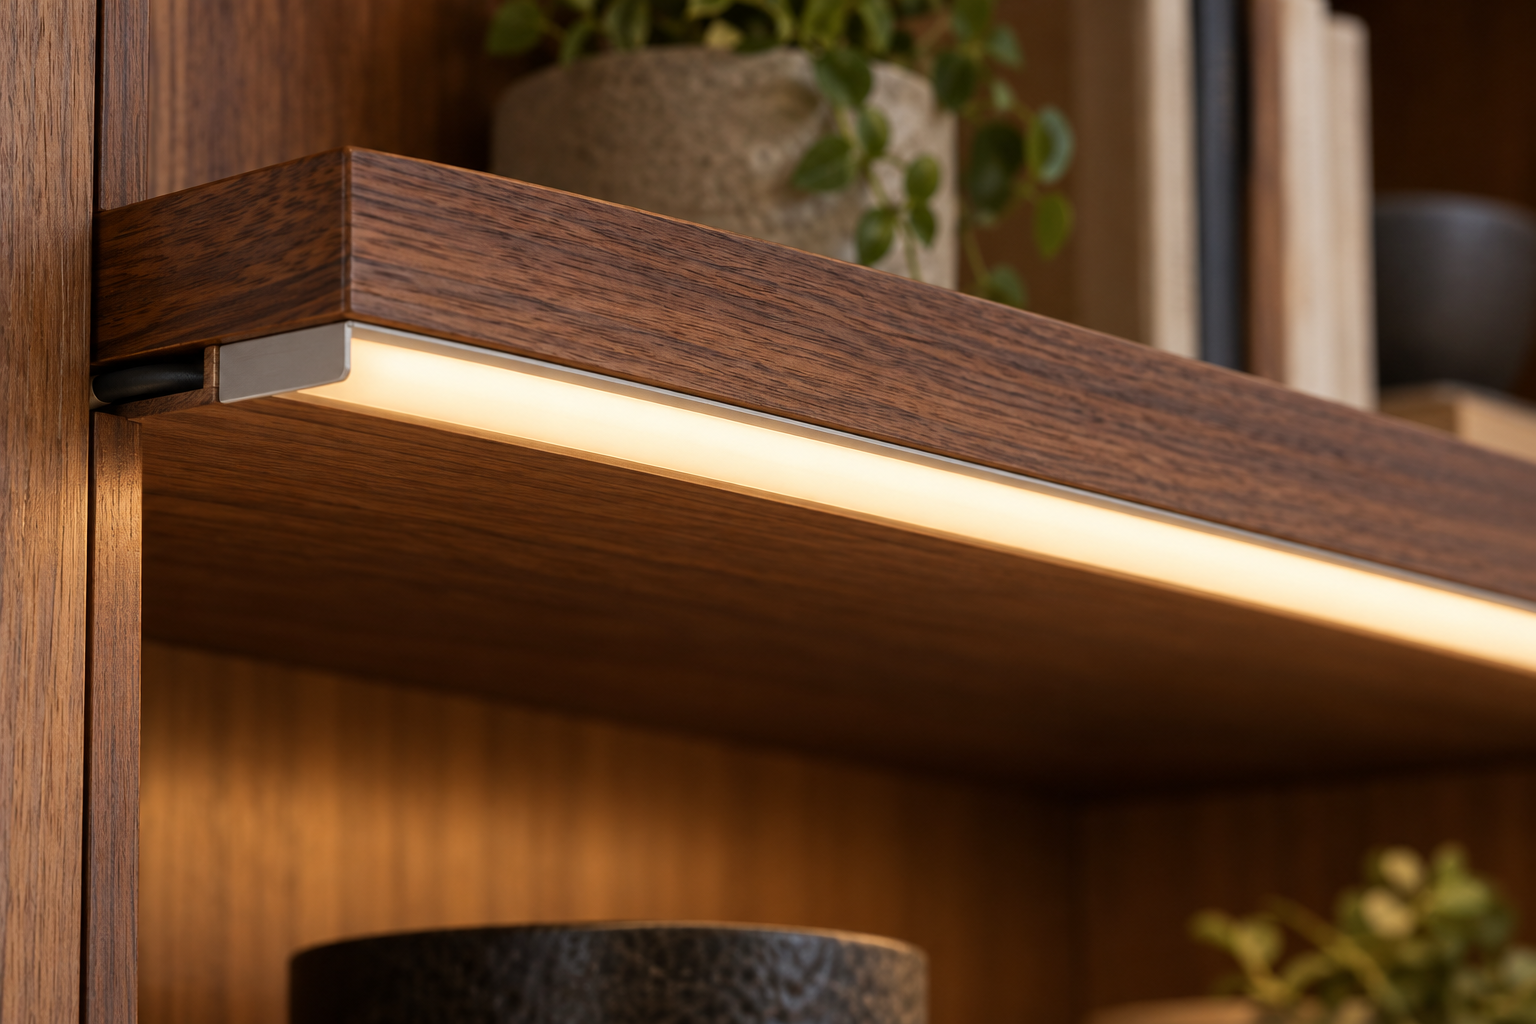
- Ask the carpenter to make a short sample of the proposed shelf edge, groove, aluminium profile and diffuser. Place a few real objects on it and test it at night.
- A shallow shelf, reflective back panel or glass door can change the effect. The sample will reveal unwanted reflections, bright dots and shadows.
3. Choose a complete light system
For a linear effect, specify the LED strip, aluminium profile, diffuser, driver and control together. A diffuser helps soften visible dots, while the profile protects and mounts the strip. Check that the selected strip, profile width and cover fit the groove before cabinet fabrication.
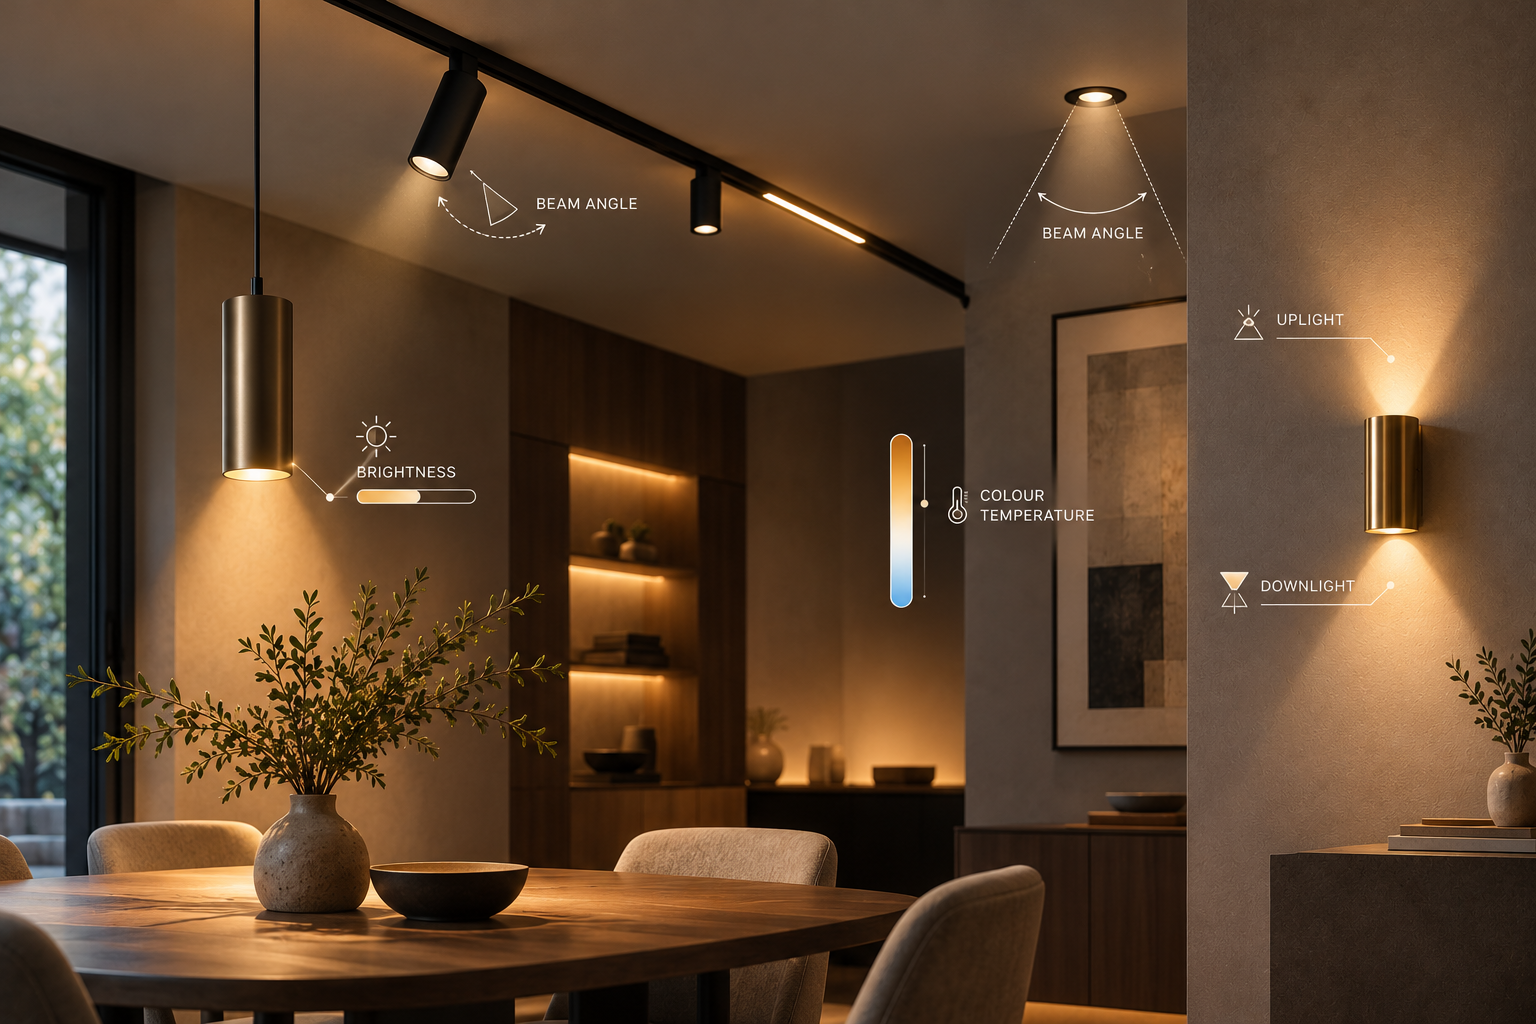
- Colour temperature: 2700K feels warm and intimate; 3000K is a versatile warm white. Match nearby lighting when possible. Choose a sample in the actual wood or finish before ordering the full run.
- Colour rendering: ask for CRI 90 or higher when the colour of books, art and materials matters. Compare samples because CRI alone does not describe the whole visual result.
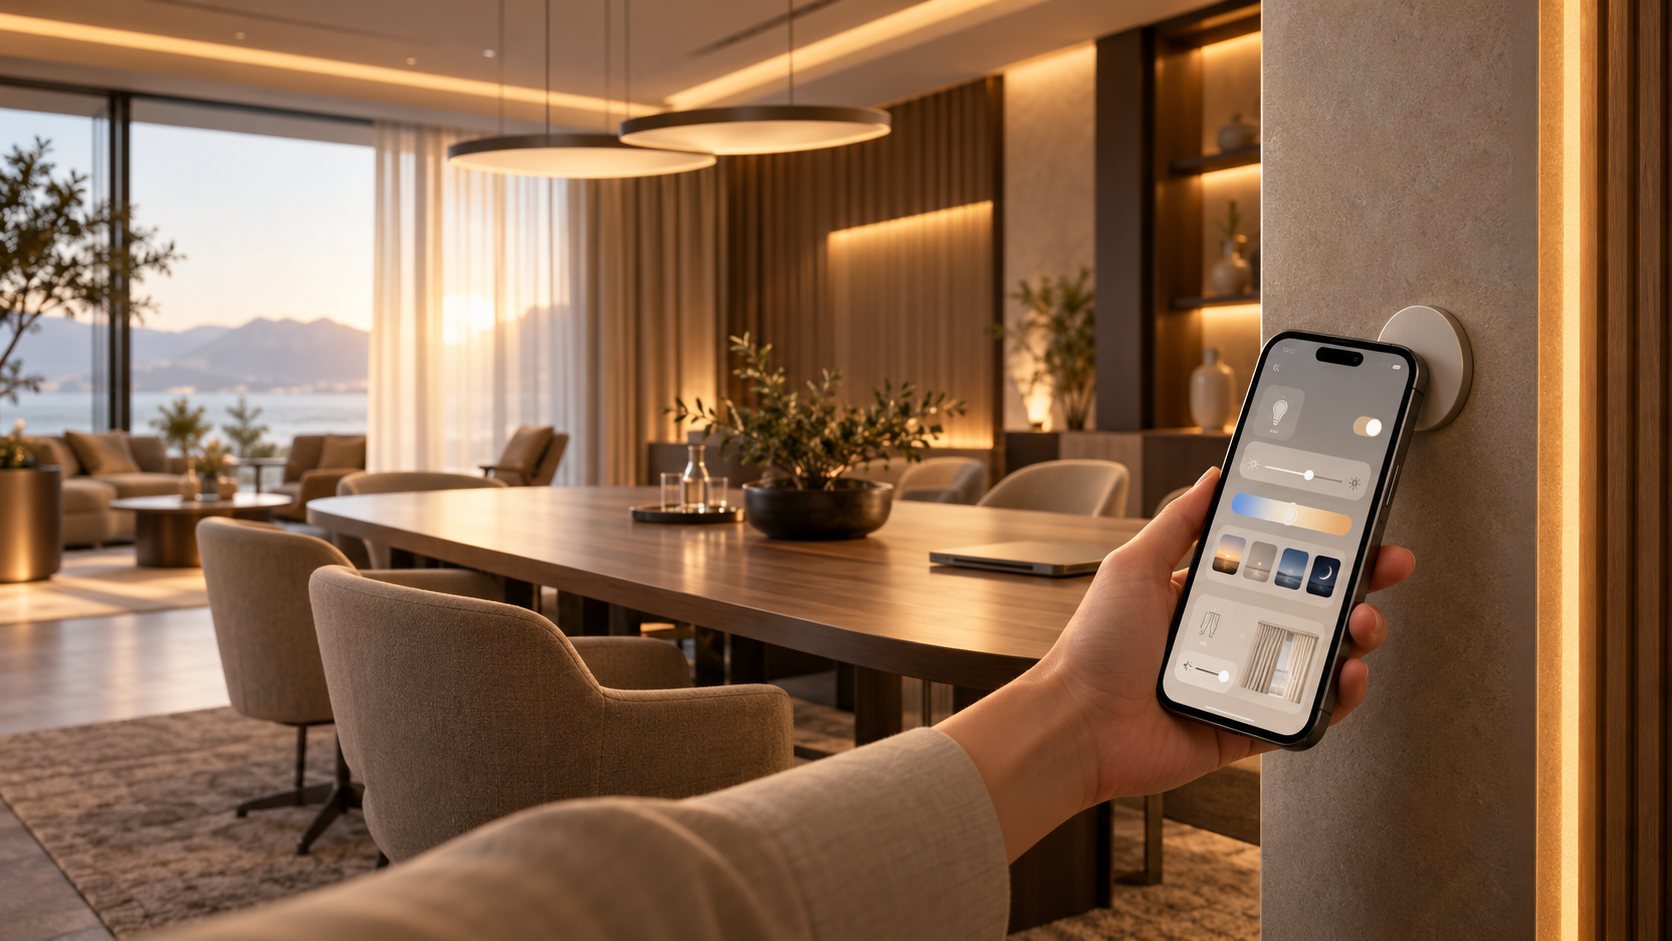
- Brightness and dimming: ask for enough output for the task, then dim it to suit the room. Rear accent lighting often needs less light than an everyday bookcase. Test the complete strip, driver and control combination for smooth dimming and flicker.
- Voltage and length: 12V and 24V strips exist; use a matching constant voltage driver. The electrician should check the manufacturer’s maximum run length and cable size, especially across multiple or long shelves.
4. Plan the wiring while the cabinet is being designed
For each shelf, mark the exact strip or spotlight location, direction of light, channel size, wire exit and route. Also mark the driver location and an access panel so the driver can be replaced later. Agree where switches, dimmers or sensors will sit and which shelves operate together.
A useful quick check for driver sizing is: total strip length in metres × strip watts per metre = connected strip watts. For example, four 1 m shelves using a 10 W per metre strip draw 40 W before allowing for system details. The electrician should select the driver using the actual product data and the manufacturer’s load limits, rather than guessing from the number of shelves.
5. Build and test in the right order
- Agree the effect and make a sample with the actual finish, objects and diffuser.
- Confirm fixture dimensions, cut points, cable exits, driver access and control location before cutting the cabinet grooves.
- Have the electrician check the driver, wiring and maximum run lengths against the chosen manufacturer’s instructions.
- Power and test every shelf before the finishing panels close. Look for visible dots, glare, uneven ends, colour differences, unwanted reflections and flicker at low dim levels.
- Check the result again with the room lights on and off, from normal standing and seated positions. Adjust the position or aiming while changes are still possible.
Before you approve the cabinet
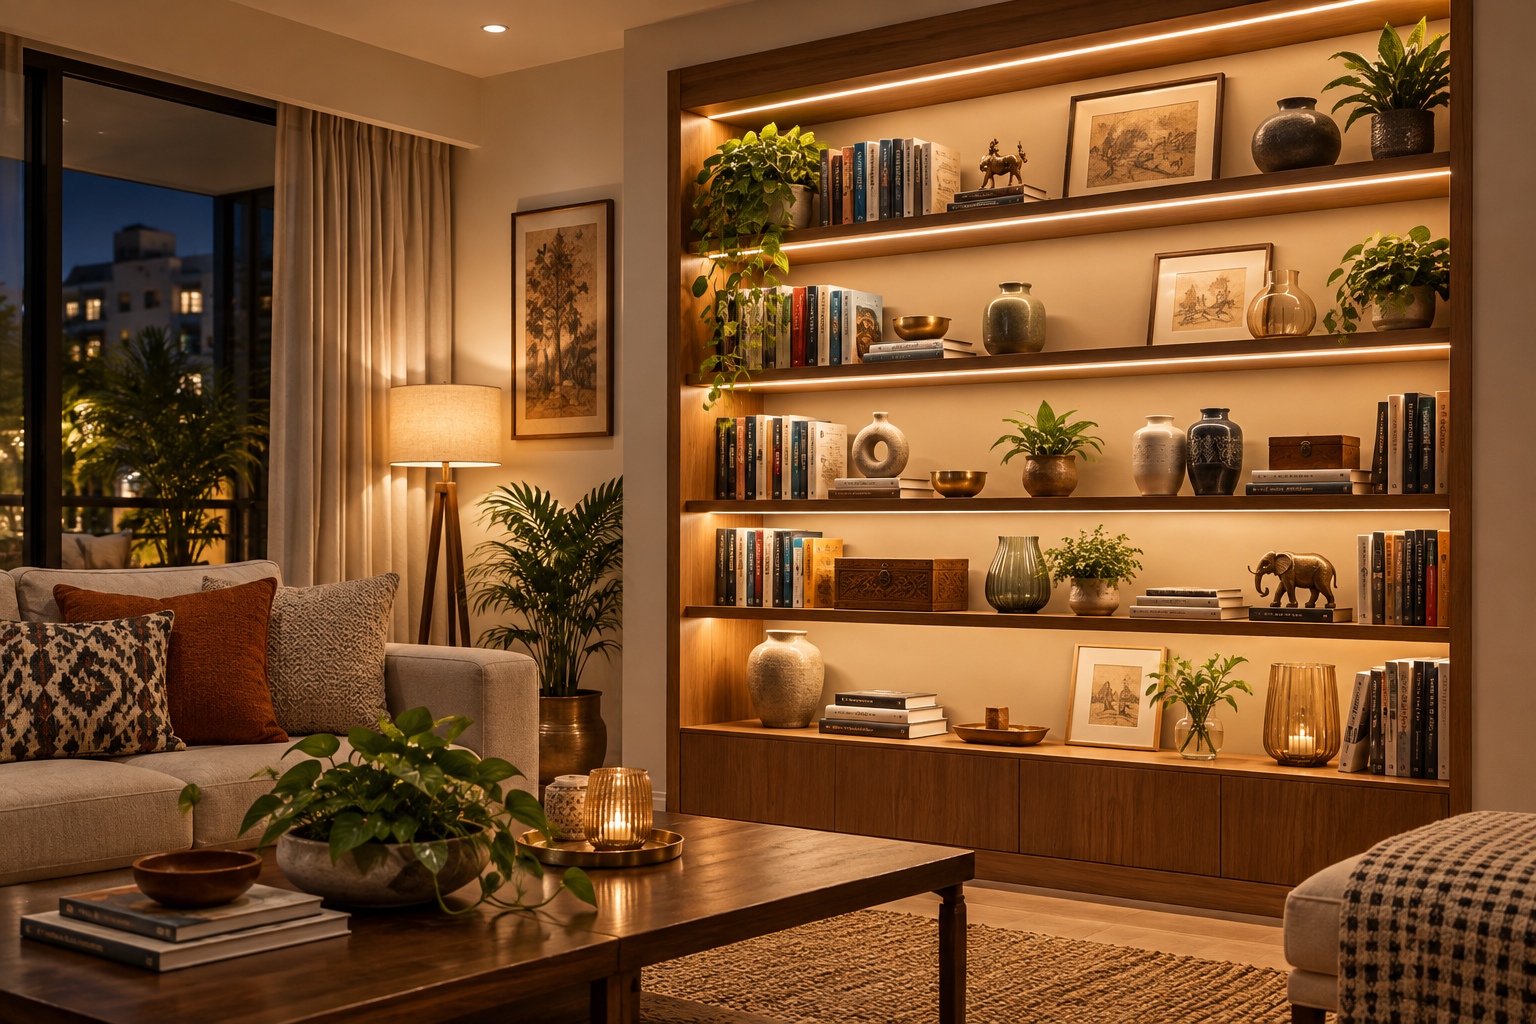
Can you see the objects you want to see? Is the source concealed from normal views? Does the chosen profile fit? Is the driver accessible? Have the strip, driver and dimmer been tested together? If all five answers are yes, the lighting plan is ready to build.