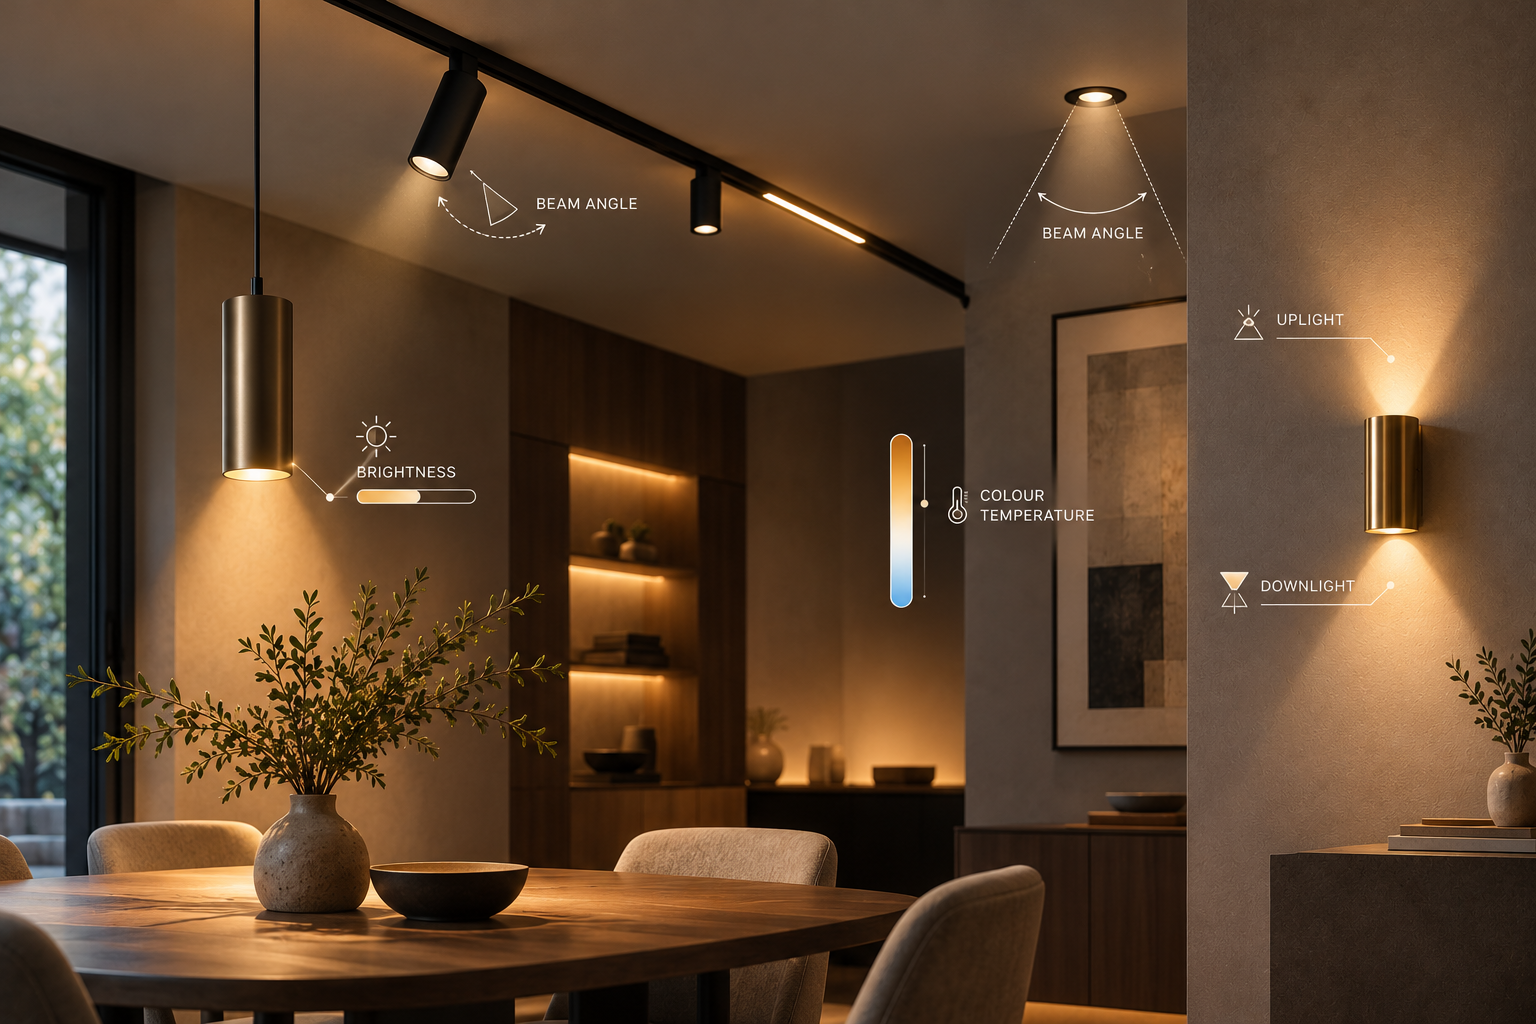

Magnetic track lighting is appealing because it looks tidy and lets you combine different types of light along one track. But the track is only the starting point. The modules, power supply, mounting method and controls need to work as one system.
1. What Is Magnetic Track Lighting?
It is a track system designed to accept compatible lighting modules through a magnetic attachment arrangement, with electrical connections supplying the modules. Retention and locking details vary by system. Many products use low-voltage DC, but you should confirm the actual voltage and installation requirements rather than assuming every magnetic track is the same.
2. Choose Modules for Their Jobs
Adjustable spotlights can highlight artwork or a table. Linear modules can provide a broader distribution. Pendant modules can relate the light to furniture below. A track filled with one type of module may still leave task areas underlit. Plan the layers first, then decide which modules belong on the track.
3. Compare the Mounting Options
| Track Type | Where It May Suit | What to Plan |
|---|---|---|
| Recessed | A clean line integrated into the ceiling | Ceiling build-up, finishing and access before construction |
| Surface Mounted | A track fixed onto a suitable ceiling | Fixings, cable entry and visible profile |
| Suspended | Light brought closer to the room below | Suspension points, height and clearance |
4. Compatibility Comes Before Appearance
Similar-looking tracks are not necessarily interchangeable. Check the track family, module connectors, operating voltage, polarity requirements, corner pieces and power feeds. Use combinations approved by the manufacturer. A module fitting physically into a track does not prove electrical or control compatibility.
5. Size the Power Supply Properly
Add the connected module loads and have the supplier confirm the required power supply, permitted loading and limits on track length. Leave room for planned additions within the system’s ratings. Keep power supplies accessible and ventilated as instructed. Long runs and multiple feeds need proper design rather than guesswork.
6. Check Glare and Beam Coverage
Slim does not automatically mean comfortable. Look at modules from seated positions, especially above a sofa or near a television. Choose beam distributions that suit the mounting height and target. Aim adjustable heads at the surfaces that need attention, rather than into people’s eyes.
7. Decide the Controls Early
Confirm whether the system supports simple switching, dimming, tunable white or separately addressed modules. These features depend on the selected modules, drivers and control hardware. One continuous track does not necessarily mean every light can be controlled individually.
8. Plan Changes and Maintenance
Repositioning modules can be convenient, but follow the manufacturer’s instructions, including when power must be isolated. Have mains connections and track installation completed by a qualified installer. Check availability of replacement modules before committing to a particular system.
Your Magnetic Track Checklist
- Track mounting agreed before ceiling work.
- Modules assigned clear general, task or accent jobs.
- Voltage, connectors and control compatibility confirmed.
- Power capacity and track limits checked.
- Drivers accessible for maintenance.
- Glare and aiming checked from real seats.
Magnetic track works best when flexibility serves the room. Choose the system around what you want to light, not simply the line you want on the ceiling.